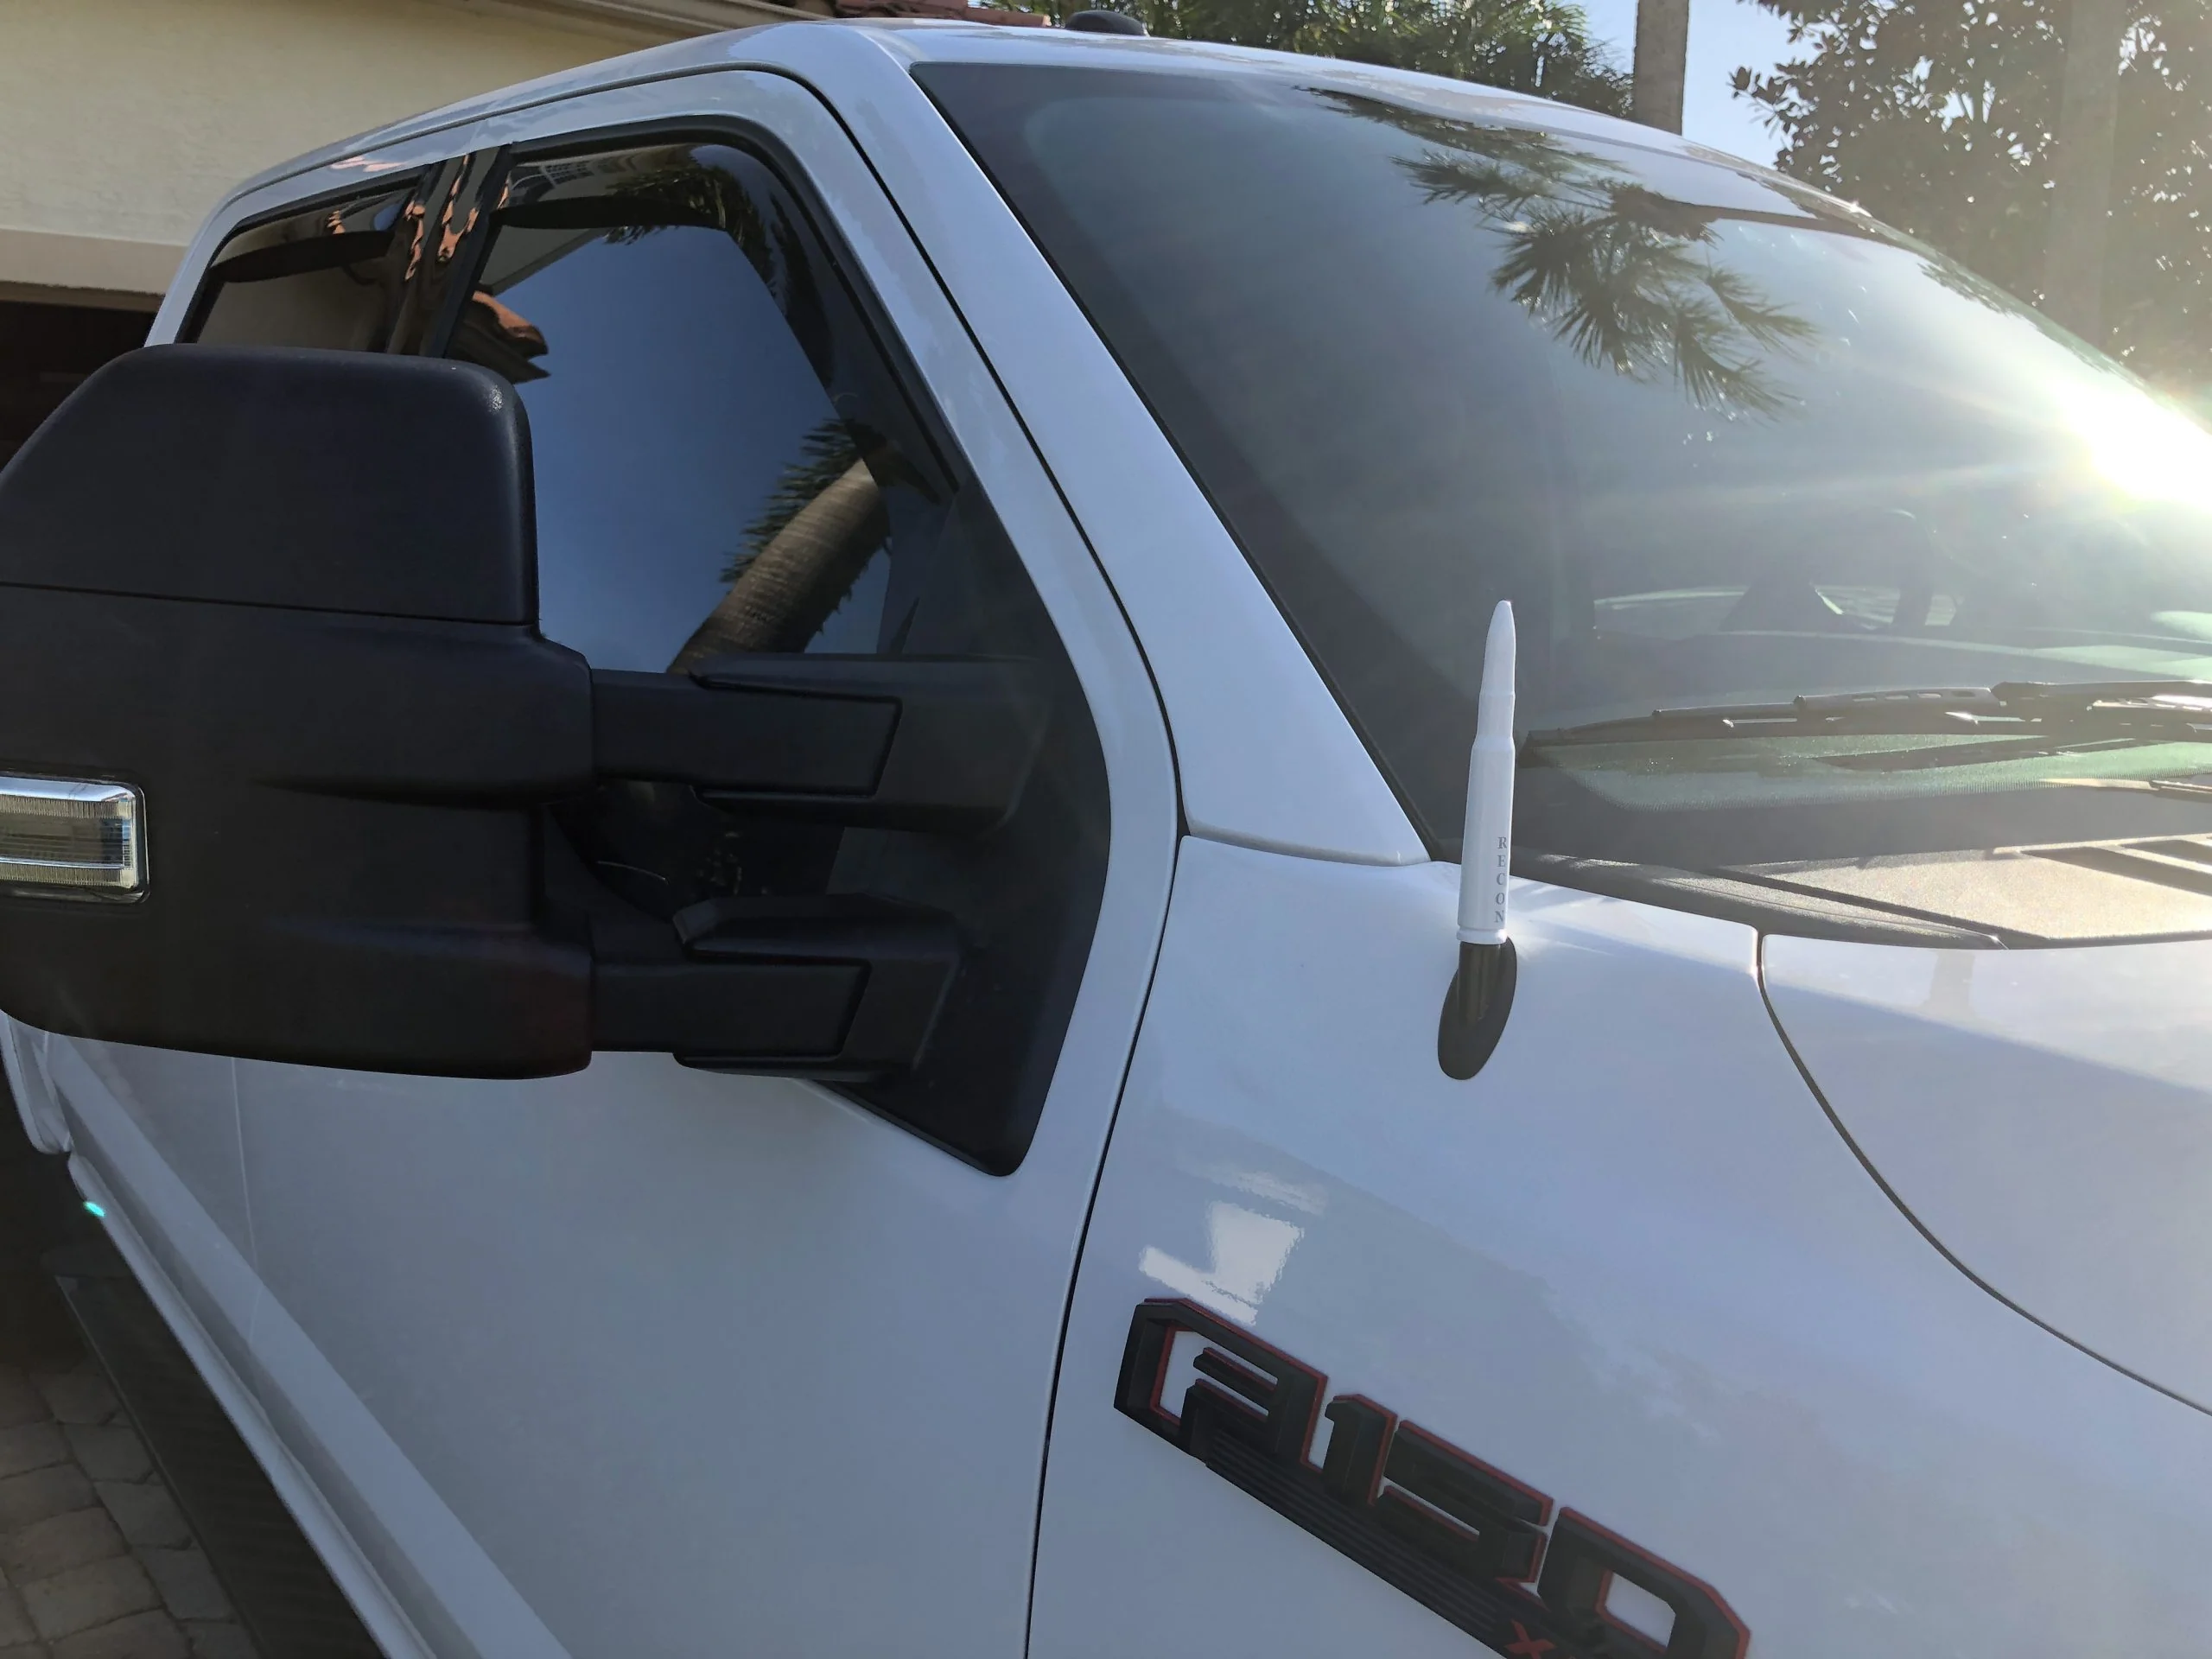
I’m unable to install my bullet antenna
Facing challenges while installing your new bullet antenna is more common than you might think. Let’s walk through some simple checks and fixes to get your aftermarket antenna installation sorted.
Confirm Your Antenna’s Compatibility
First off, let’s make sure you’ve got the right antenna for your vehicle.
Visit the Manufacturer’s Website
Most antenna manufacturers have a compatibility check tool. Enter your vehicle’s make, model, and year to find the perfect fit for your vehicle.
Read Product Descriptions Carefully
If you’re shopping on platforms like Amazon, the product description often includes a list of compatible vehicle models. Utilize this feature to avoid purchasing the wrong antenna.
Inspect the Antenna Mount
The condition and type of your vehicle’s antenna mount play a crucial role in the installation process.
Remove Old Adapters
Sometimes, the previous antenna (especially if it wasn’t the standard one that came with the car) might have needed an adapter. If that adapter’s still there, Remove the Old Adapter.
Factory vs. Aftermarket Mounts
Ensure your vehicle still has its original antenna mount. Aftermarket antennas are typically designed to fit factory mounts, and a previously replaced mount might cause fitment issues.
Check for Damage or Corrosion
A damaged or corroded mount can prevent proper installation. Clean the mount area thoroughly, or consider having it replaced if it is severely damaged.
Installation Tips for a Smooth Process
Once you’ve tackled compatibility, inspected the mount, and removed any rogue adapters, Now that we’ve gone through the checklist, let’s try installing that antenna again. Here’s a breakdown:
- Read the Instructions Thoroughly: Even if you’ve installed antennas before, each model can have its nuances. A quick review of the installation guide can save you time and prevent mistakes.
- Have the Right Tools Ready: Usually, you only need a wrench or a pair of pliers. Nothing fancy.
- Take Off the Old Antenna: Unscrew the old antenna. If it’s stubborn, gently use your tool to help it along.
- Clean the Mount Area: Before you pop on the new antenna, give the mount area a quick wipe to remove any dirt or grime.
- Screw on the New Antenna: Take your new antenna and screw it onto the mount. It should go smoothly if you have the right model and no adapters. Remember, righty-tighty, but don’t overdo it. You don’t want to strip the threads.
- Check for Stability: Once installed, gently test the antenna’s stability. It should be secure but not overtightened to allow for natural vibrations without breaking. Just to make sure it’s on there good and won’t come loose while you’re driving.
Conclusion
Installing a new antenna should be an exciting part of customizing your vehicle rather than a frustration. By following these steps, you’re well on your way to overcoming common installation challenges. Remember, the key to a successful antenna installation is ensuring compatibility, preparing the mount, removing old adapters, and following the installation instructions carefully.
If you are still struggling, contact the antenna manufacturer’s customer service. Many companies offer detailed support to help you through the installation process. With a bit of patience and the right approach, you’ll have your new antenna up and running in no time, enhancing your vehicle’s look and functionality.