How to Replace Your Old Antenna with a Bullet Antenna
This guide will walk you through the step by step process of upgrading your antenna, ensuring you can enjoy the improved look and functionality in no time.
Tools You’ll Need:
- An adjustable or crescent wrench
- A clean cloth or old t-shirt (to protect your vehicle’s paint)
- Your new bullet antenna
Step-by-Step Guide to Bullet Antenna Installation:
- Prepare Your Workspace: Before diving into the installation, make sure your vehicle is parked on a flat surface and you have ample light. Lay out your tools and the bullet antenna within reach.
- Protect Your Vehicle’s Paint: Wrap the clean cloth or old t-shirt around the base of your current antenna. This will prevent any accidental scratches to the paint during the removal process.
- Remove the Old Antenna: Gently unscrew your old antenna using the adjustable or crescent wrench. While doing this, hold the base steady to avoid any damage.
- Prepare the New Antenna: Take a moment to inspect the threaded portion of your new bullet antenna. Ensure it’s clean and free from debris for a smooth installation.
- Install the Bullet Antenna: Align the threaded portion of the bullet antenna with the antenna base on your vehicle. Carefully start screwing it in by hand to avoid cross-threading. Once it’s started, you can use your wrench for a final snug fit. Remember, tight enough is good; there’s no need to over tighten.
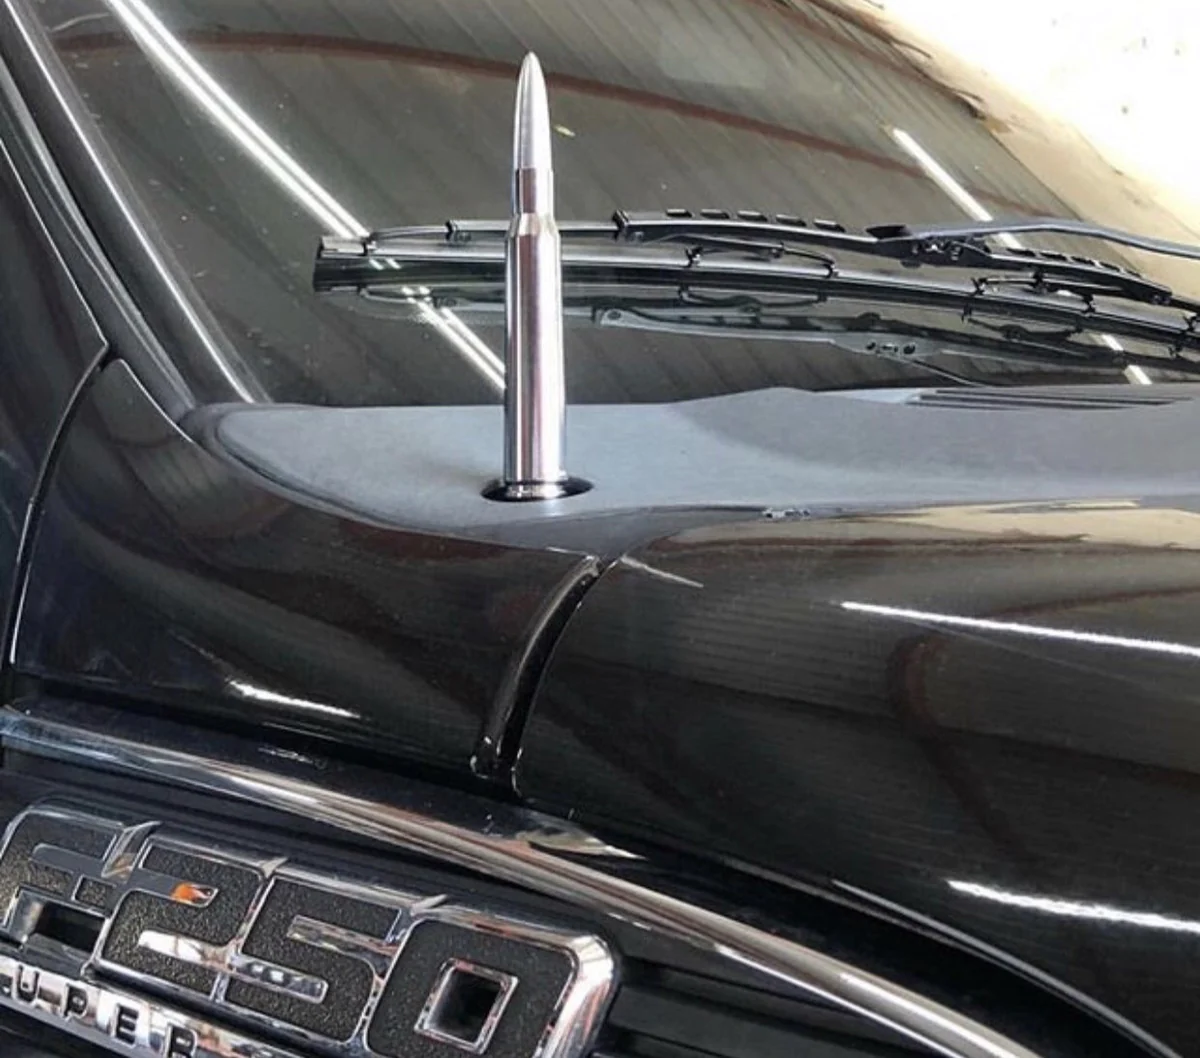
Why should you upgrade to a bullet antenna?
The bullet antenna is not just about aesthetics; it’s a practical upgrade too. Its compact size reduces the risk of it getting caught or damaged by low-hanging objects, making it ideal for off-road enthusiasts or anyone who values a clean, streamlined look.
Conclusion
Congratulations! You’ve successfully upgraded to a bullet antenna. This simple DIY project is a great way to personalize your vehicle, improving its appearance and functionality.